VeryDOC HTML to Image Converter can be used to convert HTML or website to image file and allows you to specify the resolution in X and Y directions. It supports most of the common image file formats like wmf, jpg, png, emf and so on so forth. During the conversion, you can convert website online directly to image when there is internet. Or you can convert local files to image in batch without internet connection. In the following part, I will show you how to use this software.
Step 1. Download HTML to Image Converter
- This software is command line Windows application, which can work both under 32-bit and 64-bit. Please make sure that you download the right version.
- Please do the conversion following the examples and be in compliance with the usage. Before using, you’d better read the readme.txt then you can know more about this software.
Step 2. Convert HTML file to Image
- When you need to convert single HTML file to image, please refer to the following command line template.
html2image -url=https://www.verydoc.com/ -out=C:\verydoc.png - If you need to convert local files to image, please refer to the following command line.
- When you need to specify the output image file resolution, please refer to the following command line.
html2image -url=https://www.verydoc.com -out=C:\out.png -width=100 -height=200 -dpi=200
html2image -url=C:\test.htm -out=C:\test.png
html2image -url=C:\test.mht -out=C:\test.png
html2image -url=C:\test.mht -out=C:\test.jpg -quality=70
This software allows you to set output image quality using parameter –quality. The more higher quality is, the bigger size of the output will be.
During inputting the command line, please pay more attention to the syntax. Please use –url at the beginning of the input file, which can be used to specify the online URL or input file path. Please use -out= at the beginning of the output file, which can be used to specify the target file.
-url=<url> The URL to capture (http:...|file:...|...)
-out=<path> The target file (.png|bmp|jpeg|emf|...)
-xdpi=<int>:this parameter is an order to specify X resolution of the output image (default: auto)
-ydpi=<int>: Y resolution of the output image (default: auto)
-dpi=<int> : Both X and Y resolution of the output image (default: auto)
-bwidth=<int> :this parameter is for the browser width (default: 800)
-bheight=<int> Browser height (default: automatically determined)
-quality=<int> JPEG quality (compression) percent (default: 90)
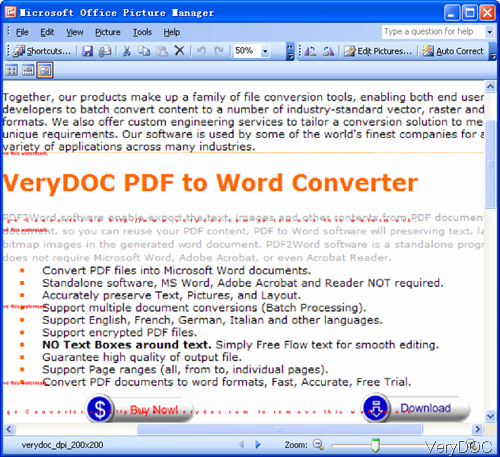
Now let us check the conversion effect from the following snapshot. During the using, if you have any question, please contact our support team as soon as possible. We will solve for it at the first time.
